Monday, January 7, 2013

New toys!

Okay so maybe I'm just one of those once-a-month bloggers. Truth be told, I'm having too much fun actually sewing to really want to take the time to blog. I'm not taking step by step photos (sorry), but maybe I will again.

Since it's been three-ish weeks since I last blogged, here's a baby bath photo. Because because.

ookader big o bewwy!

 Back to business.

You guys. I GOT A SEWING MACHINE FOR CHRISTMAS. I was really not expecting this, since my family does a gift exchange dealio, and this year, our gifts were supposed to be only $50 (thankfully, since our budget is super tight these days). But my parents totally broke the rules for both me and my sister. Rules are made to be broken, right? :) My sister was gifted with a Kitchen Aid mixer (squee!) and I with a Brother CS-6000i sewing machine (double squee!)


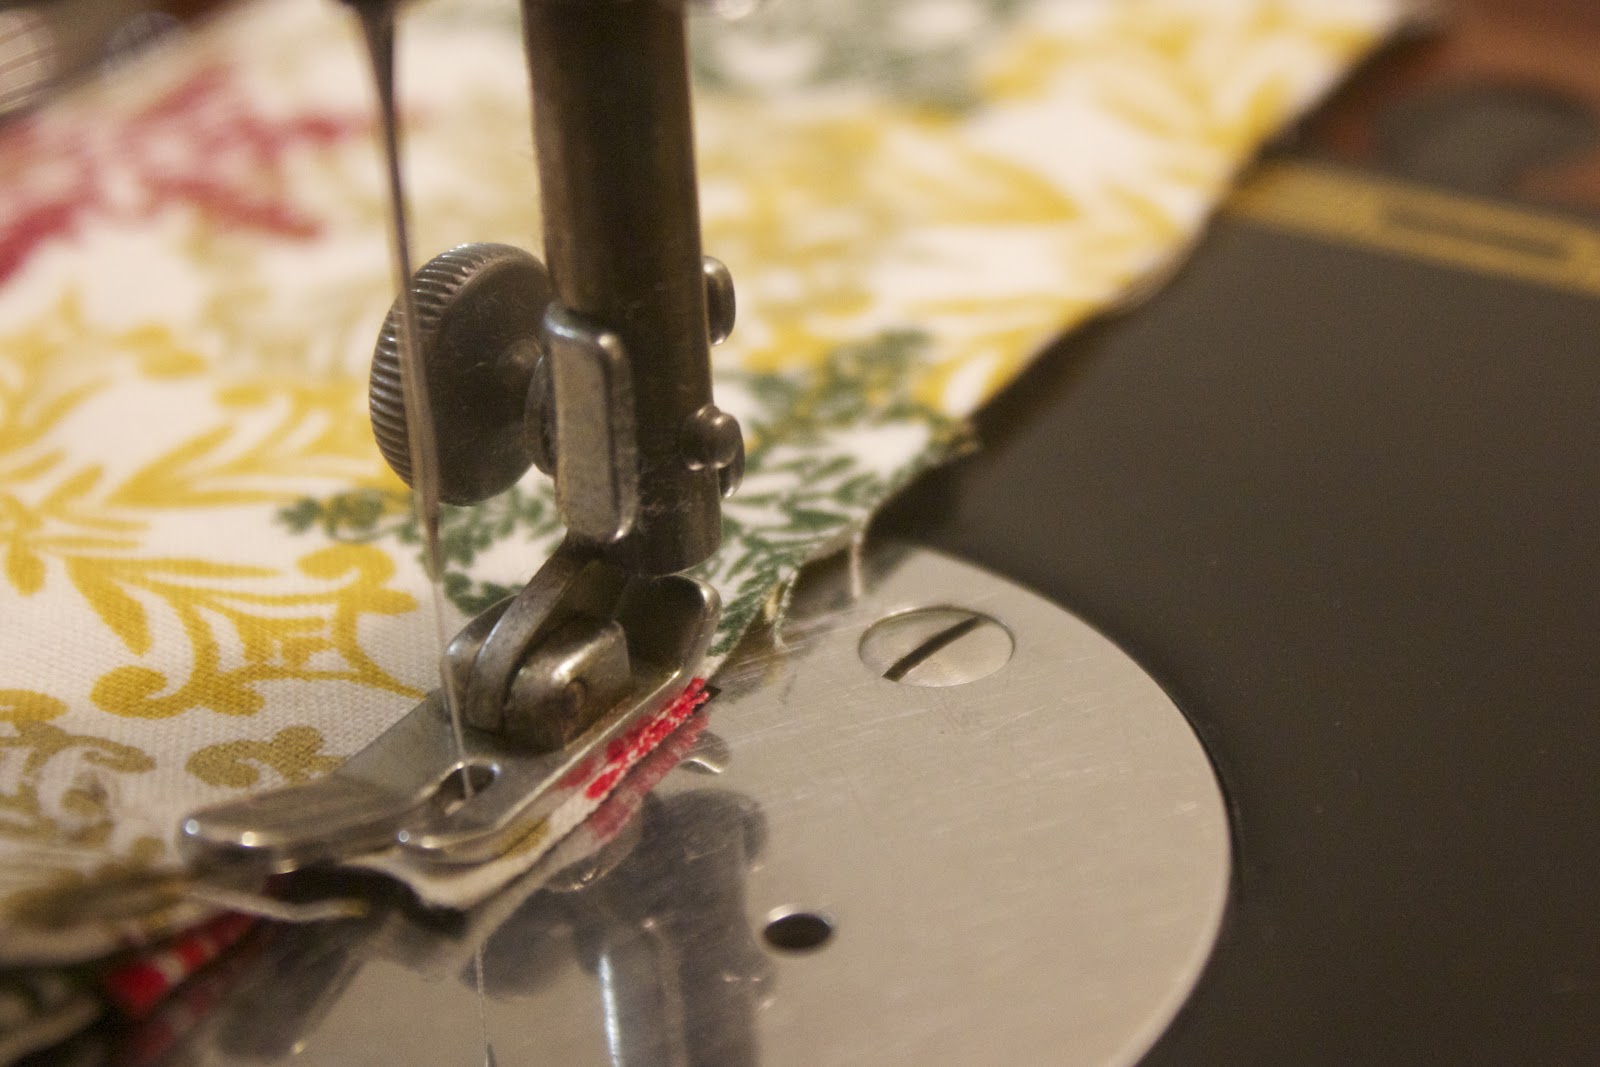
Look at all the different seams it does!! 60 [SIXTY]. different. stitches. Six of which are button holes! (I still haven't tried that out yet...)


I also got a clear acrylic ruler and a rotary cutter (Thanks, Susan!). Dudes. These tools make cutting So. Much. Easier. Makes me want to consider quilting...


Lemme show you all the things I made with my new toys so far.

Well, first, I started this clothespin apron on Grandma's machine, and finished it on my new machine. I really like this apron, and I would totally use it if I hung my laundry out on a line to dry. Or if I had a garden with fruits and vegetables to harvest. But alas, I do not. Therefore, I shall sell it on Etsy.

I know you dig my modeling-while-photographing skills.
 I proceeded to making a couple of these coffee cup sleeves. Pretty purple paisley, with some decorative stitching and velcro -- or rather, I should say "hook and loop" (whatever) -- closure. I made this identical thing for my sister for Christmas, only, without the decorative stitching, since I didn't have my fancy schmancy new machine yet. (E, if you want, I can add it to yours :D)


This was my first experience with interfacing. I'm sure I'm doing it wrong, but it turned out looking nice, right?

Then, my fellow music teacher from MCS saw the clothespin apron, showed it to her husband, and he said, "I'd totally use that if it were in camo or khaki." Verbatim, I'm sure. And poof! Thus appeared camo and khaki clothespin aprons from my Brother! I manned them up a little bit, too -- I squared out the corners so they wouldn't be so hip accentuating. I think Dan'll appreciate that, eh, Lori? hehe


I learned how to "stitch in the ditch" with this pattern. It's not easy! It takes a lot of patience, steady hands, and laser eyes. I'm quite satisfied with the outcome. Because I have all three of those qualities.

HA.


I was also quite fearful of round edges, but apparently there was no need! Again, it takes a lot of patience, but I managed fairly well. This is the best example of some tight corners.


I had a bit of a hard time with the khaki apron because the material was so thick. At some points, I didn't think my Brother would make it! That thing's a work horse, though, and powered through.

And lastly, I made a doggy bed. Poor Gilligan's bed was old and gnarly, and I figured it'd be cheaper to just make him a new one. I used fleece, and banged it out in a couple of hours. Dare I say, it was easy to make? The hardest part was cutting the trapezoids. But with my new rotary cutter and acrylic ruler, it was a breeze! When I finished making the bed, I plopped it down on the floor and Gilly immediately jumped in it! I didn't even have to call him over. He knew it was for him. I wasn't too precise with this project, since I knew it would just get old and gnarly. But maybe it will wash nicely! We'll see.

 By the way, the clothespin apron and dog bed are patterns from my awesome book "One Yard Wonders". The coffee cup sleeve I fashioned after a cardboard one from a coffee shop.

And. Grandma's machine will always be dear to me, but I took it back to my parents' house last night. I don't plan on using it anymore, and we have limited space in this here house. I hear my sister may want to give it a try...

Wednesday, December 19, 2012

More bags. And a hot/cold pack.

With all of my items selling, I'm running low on inventory! This is a good problem, although, I'm not sure I can keep up with it. Not to mention, someone stole all the time out of my life. If it was you, please give it back. Maybe the 23 pound bundle that's crawling around my house that refuses to nap is to blame.... nahhhh.

So a few nights ago, I was able to bust out a few bags. Luckily, the Christmas gift bags are a quick make. I tried something new with one of them, too. My mom suggested making these drawstring bags with some extra fabric on top, to have some ruffly business. So I made one drawstring bag the way I'd made them before, and one with a ruffle. The ruffle turned out very well, although the overall shape of the finished bag is a little odd. Kinda wide and short. However, it turns out to be the perfect size for a pair of shoes!


Peekaboo!

I was also able to complete a special project for a friend, Cristine. She asked me if I could make anything other than bags, since she's a self proclaimed bag lady already. I didn't know if I could make anything other than a bag, but what the hay, why not give it a shot! Since my poor friend has constant aches and pains, we concurred on a hot/cold pack. This pattern was found in my fantabulous book, One Yard Wonders. The whole thing was made from just one yard of fabric, with just scraps left over!

The pattern confused me a time or two, and I had to reread several things several times, kinda like those word math problems in school. And I must admit, I attached one of the ties on the wrong way. Then I "saw" it. In my mind. Sometimes it takes a few tries for it to really click in my head. Makes me feel dumb, but I usually get it in the end.

Anyhow, I used this gorgeous black and white floral fabric.

The whole idea with this pack is that you can tie it onto yourself and go about your business without being constrained to the couch or bed or chair or ... floor?


There is an envelope type thingy with two wide ties on the edges. (Your favorite sentence, right there.)


Inside the envelope, you put the actual hot/cold pack.


The hot/cold pack was made by sewing a bag, basically, then sewing eight channels in the bag. Then each channel is filled with rice and (tricky part) sewn shut. The sewing shut wasn't as tricky as I thought it would be, actually. I thought there would be rice everywhere. But alas, there were only a few escapees.


Here I am modeling the creation. Can I just say, it's quite difficult to take a picture of your own back?? Yeah. But I think I might need to make one for myself! It's super comfy. Since the ties are so wide, they don't cut into your stomach or sides. And the rice conforms to the shape of your back. Quite luxurious, really. You know you want one.


And then. There's the crazy bag. So back when I sold all those grocery bags, I was all in a tizzy, cutting fabric at warp speed and all, and I ended up cutting some of the green tree fabric sideways for the front panels, which was not my intention. The side panels I'm not so worried about, but I want the front panels to be the right way up. AND. I had two side panels worth of the brown nature fabric, but not enough to make a whole bag. THEN. I just have a bunch of the zebra print fabric. I thought: Why not just put them all together and make some acid trip bag? (Side note: I don't do acid, Mom.)  And this is what I came up with:


Not nearly as messy as I was hoping for. I actually kinda like it. Gah. To top it off, I sewed it together with hot pink thread. Just to be extra annoying. Not only do I not find it annoying, I think this is one the best bags I've made, workmanship-wise.


Now, something fun for this material...
I'll probably just make another bag. *sigh* I have so many more ideas! I'm a little afraid of branching out...taking that step... I just have to try something ELSE!


Tuesday, December 4, 2012

Sold!

So maybe I'm not the best at this blogging thing. I'm not very consistent.

Oh well!

I had my first two REAL sales on Etsy! The first was for FIVE grocery bags -- custom order. A lady in New York wanted two of the green tree and three of the brown nature bags to give to her mom for Christmas.

"Sweet!" I thought. "I already have two green tree bags made, I just need to make the three brown bags!"

Then I went to cut the fabric.

There was not enough for three bags. Only two.

"No biggie. I'll just go to JoAnn and pick some more up."

Right.

Four JoAnn's, one Hancock Fabrics, one Beverly's later, lots of online searching and phone calls, and no luck. Apparently, this is a very popular fabric. One fabric cutter lady at JoAnn (I don't remember which one - maybe in Fremont?) told me that a lady had come in earlier that day and bought the whole stinkin' bolt. Grr. Couldn'ta left ONE yard?

But I digress.

My customer was very understanding with the whole ordeal and agreed to two brown bags and three green bags.

Throw into the mix of that fiasco another order for two green tree grocery bags, and you've got one frazzled lady! I had made a custom order listing for the first order, not thinking to take off the original listing, making it look like I had two bags just a-waitin' to be shipped. Since I was short the brown nature fabric and wasn't going to be able to ship the first order until I'd found it, I went ahead and shipped my first two bags to the second order-er. I was still ahead of schedule on the first order's shipment once I finally did get it out.

Anyhow, all in all, I made my first real money on my first real orders from real people that I don't even know!

I took pictures of the finished package, but for some reason, I can't find them. I'll blame Cody. :) For now.

Off to rescue a crying baby!

Wednesday, November 21, 2012

French seams and such

I must apologize (again, I know) for my last blog. It was very poorly written, boring, and it didn't show how I did anything. I'm making the excuse that it was very late in the evening after I got a very fussy Ava to sleep, finally.

Anyhoo, I'd like to show you what I meant by "french seams" and give the step by step of my Christmas bag making. Of which, I'm still incredibly proud. My birthday books are coming in quite useful!

So here's the play by play:

I started with a hunk of fabric. Obviously.


First thing I did was sew the corners in for the drawstring hole openings.


Then I made dinner and forgot I was taking pictures of the play by play. Heh. Anyhow, the next step was to make the casing. Look at me, using technical terms! I might have called it a tube before my handy dandy sewing books.


Then, I clipped the fabric that was not part of the casing away from...the...casing. I don't know how to describe what I did, that's why I took pictures!


Then, with right sides out, I folded the fabric in half, matching up the casings, and sewed up both sides. Yes. Right side out. That's the whole secret of a french seam.


Then, I turned the whole shebang inside out...


...and sewed right next to the seams that were sewn while it was right side out. So now the side seams look finished inside AND out!


Next came the gussets.

With the bag still inside out, I spread the corner open (how to describe this...), measured in an inch on my nifty cutting mat...


marked a line...


and viola! A gusset! Should I be trimming the excess fabric? I haven't been because that would create some raw edges in the bag, and I don't want that.


Here's what it looks like once you flip it right side out.


Here's a lovely shot of the inside french seam at the casing opening.


Next came the drawstring. I used a safety pin on my b-e-a-youtiful gold ropey stuff, guiding in through the casing.


Bada-bing...


Bada-boom.
Tie 'er in a knot, and it's all finished!


So pretty!


The obligatory candle-lit photos...


So there. I feel much better now. I hope to write better blogs in the future, really documenting my plights.

And HAPPY THANKSGIVING!!! I hope you have some quality time with loved ones. :)


Saturday, November 17, 2012

Christmas is coming!

I made a trip to JoAnn yesterday, and I spent way too much time there. Therefore, I spent way too much money there. But hopefully the things I got will be purchased before too long! One thing I don't want purchased, though, is this fantastic cutting mat. This has already made a huge difference in my measuring and preciseness. It definitely speeds up the process. I got a small one because they're expensive! Whoa!


I also got this white webbing to make my grocery bags quicker and easier to make. This bag was made for my mom - she wanted longer straps and somewhat different dimensions. This is the best bag I've made yet! Well, until you see what I made next...


A Christmas bag! I saw this fabric and just had to have it. It's so pretty! You might not be able to tell so well from the photo, but some of the snowflakes are gold.


After washing the material, I ironed it and set to work making a reusable drawstring Christmas bag. It's super simple, and very satisfying. I decided to try my hand at a french seam, which closes off all raw edges, and I was successful! I was afraid I would screw it up and have some edges showing, but that didn't happen!  I'm pretty proud of this bag. So proud, I made two!


Cody wanted to get fancy with the camera, so I let him have at it. These pictures are what he ended up with. He even went outside and found some freshly fallen leaves from our front yard. We put one of Ava's stuffed animals in the bag. :)

Well, I must say, I took the last photo. I wanted to show the detail of the gusset (I didn't know what a gusset was a week ago). Isn't it pretty?

I went to JoAnn again today. Heh. I got more drawstring material, this time a gold rope instead of the satiny one I used on this bag. And three more yards of fabric. Different ones, but I have the same plans for them. Christmas bags! They're eco-friendly, as they're reusable, and they make Christmas wrapping super quick and easy. I plan on making some different sizes, too.

Maybe I should try to make something other than bags...