I don't know about the rules where you live, but here in San Jose, if you don't bring your own bags to the store, you have to pay for a paper bag. Plastic isn't even an option anymore (yay!). So, to save roughly 10 cents per bag, we use our trusty old Trader Joe's bags. (We haven't even shopped there in years...) And our Kaiser bags. And REI bag. And NOW, our homemade bag. What whaaaaaat. Yeah, I made a bag, and, I gotta say, it's stinkin' cute. And I'm really proud of it. (Just wait, next week the bottom's gonna bust out and I'll be crying over broken eggs.)
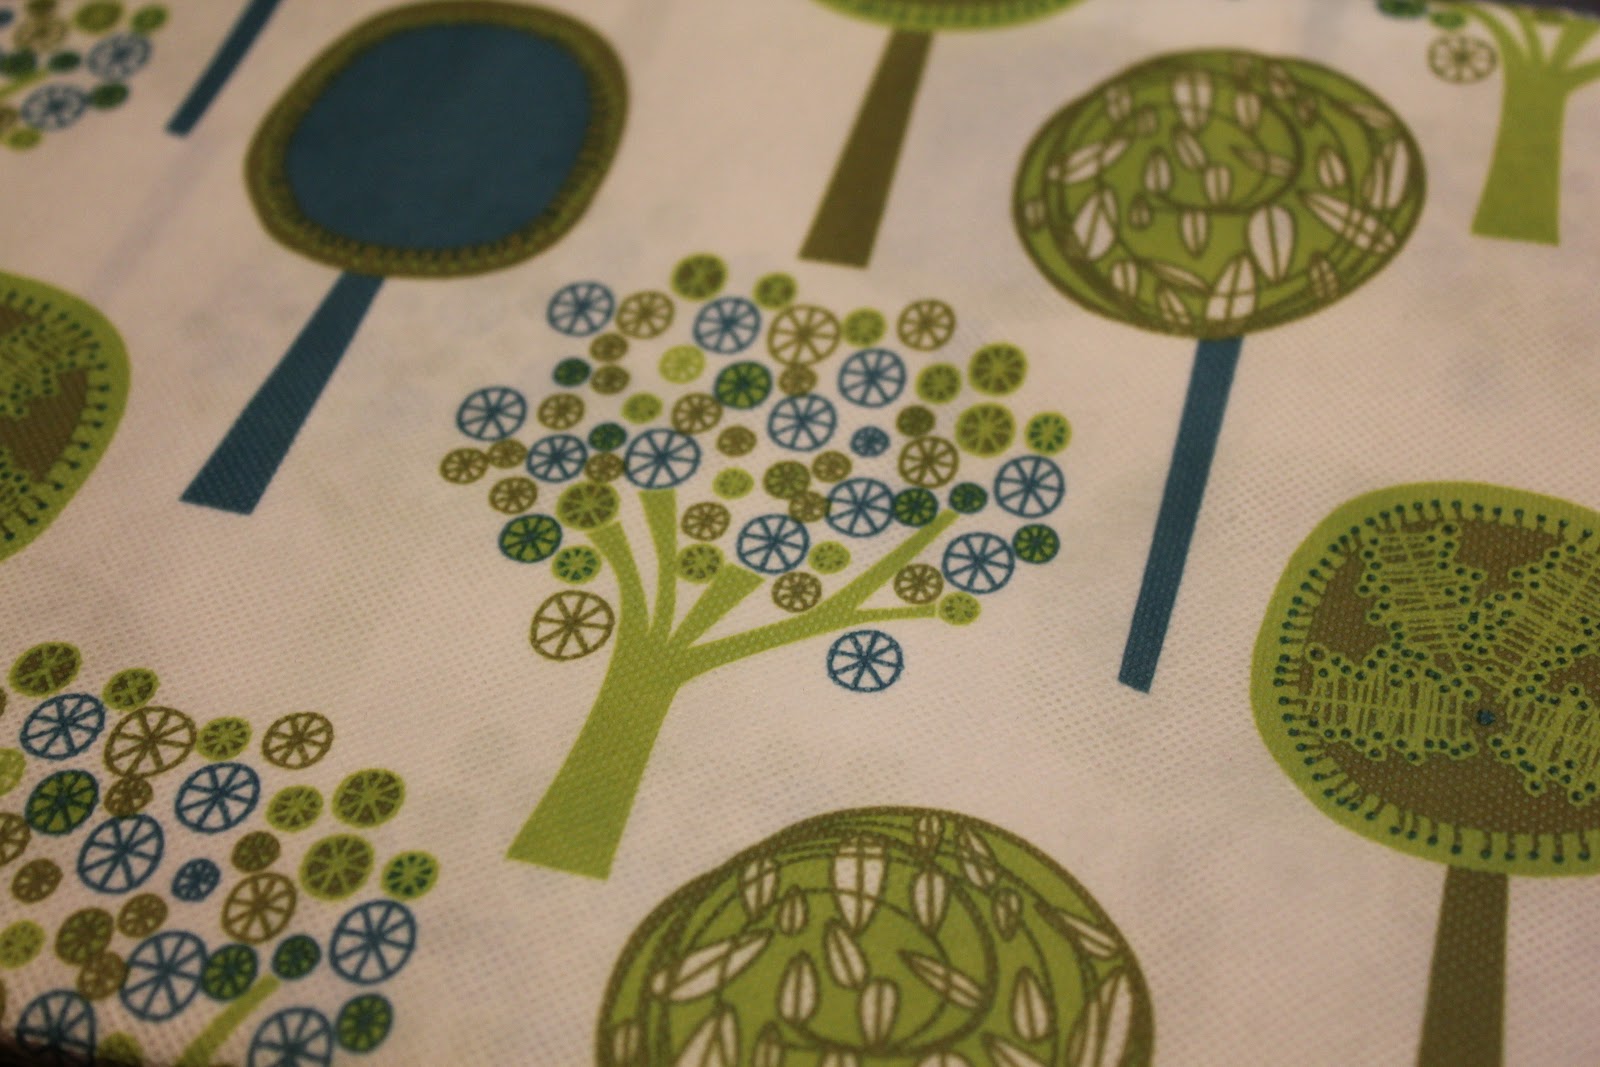
When I saw the material at the store, I knew I had to get it and make a grocery bag out of it. I'm pretty sure that's what it's made for. I don't even know what it's made out of. It seems a little like a paper/plastic composite. Kinda all weathery. And cute!
So I can't take all of the credit on the design, but I didn't necessarily follow a pattern. I gathered ideas from here - which, her idea of recycling plastic bags is awesome! And I must admit, her bags end up being way cuter than mine.
To get the size bag I wanted, I traced good ol' faithful. I cut the front and back long so that I'd have an overlap on the bottom, making the bag double strong.
I'm really glad I looked at DanaMadeIt before I started sewing, because I honestly didn't even think about attaching the handles to the bag first. I would have been trying to sew them on after the bag was all assembled. Crisis averted!
So first, I made the handles. Since they were so long, I had a hard time keeping the seam straight and keeping the fabric from buckling. I sewed them inside out, then turned them right side out - that took all of Monday night's episode of Revolution. It would have been handy to have had one of those nifty tube turning gizmos. But alas, I used my now sore fingers and a pair of tweezers. Yeah. I'm resourceful like that.
Next, I sewed down the top edges of the bag. I tacked down both sides before pulling the long haul and risking my seam going all wonky. I folded down twice, too, so that you wouldn't be able to see any raw edges.
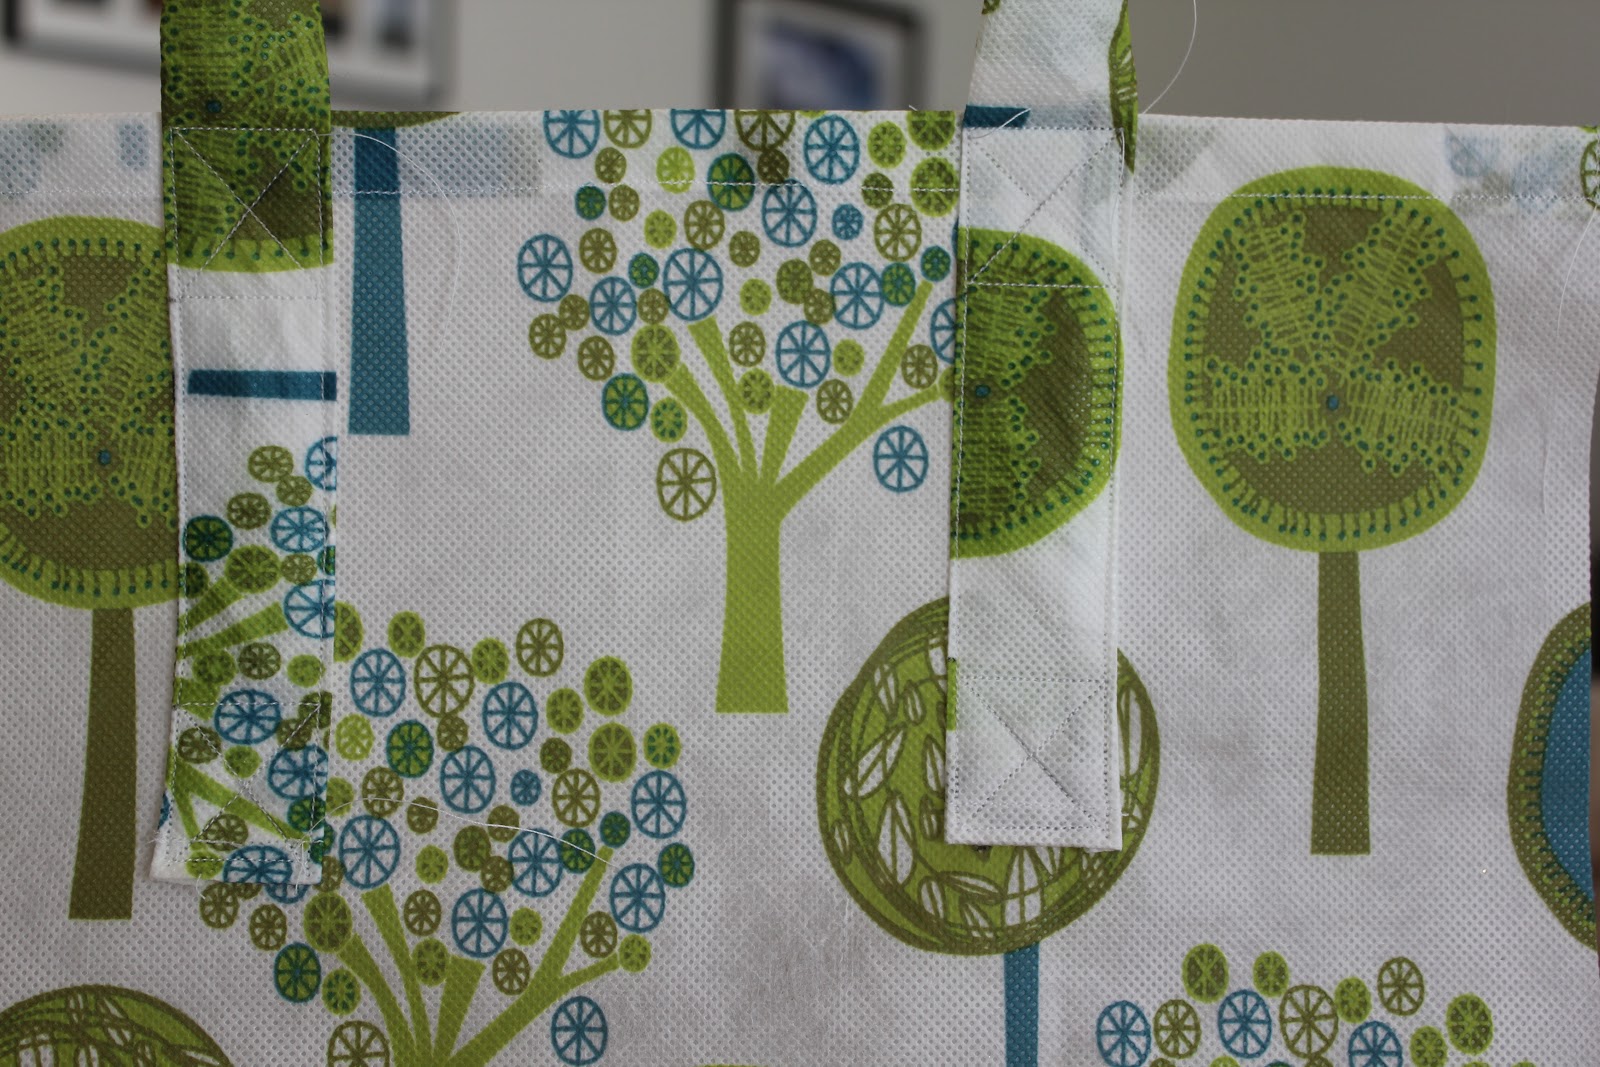
Attaching the handles was actually easier than I thought it would be, and I was quite impressed with my abilities. This sewing thing is coming a little more naturally. The fabric doesn't get away from me as easily, as I've learned what pace I can handle.
I even reinforced them with "X"s! I think that's the part I'm most proud of. I mean, it's almost, like, a real bag.
Then I sewed the front/bottom/back together, which, now that I think of it, could have been one big piece. HOWEVER, I wanted that double reinforced bottom. So there. I kind of double sewed everything to make the bag super strong, so there are two lines on every seam. I think it also makes it look nicer.
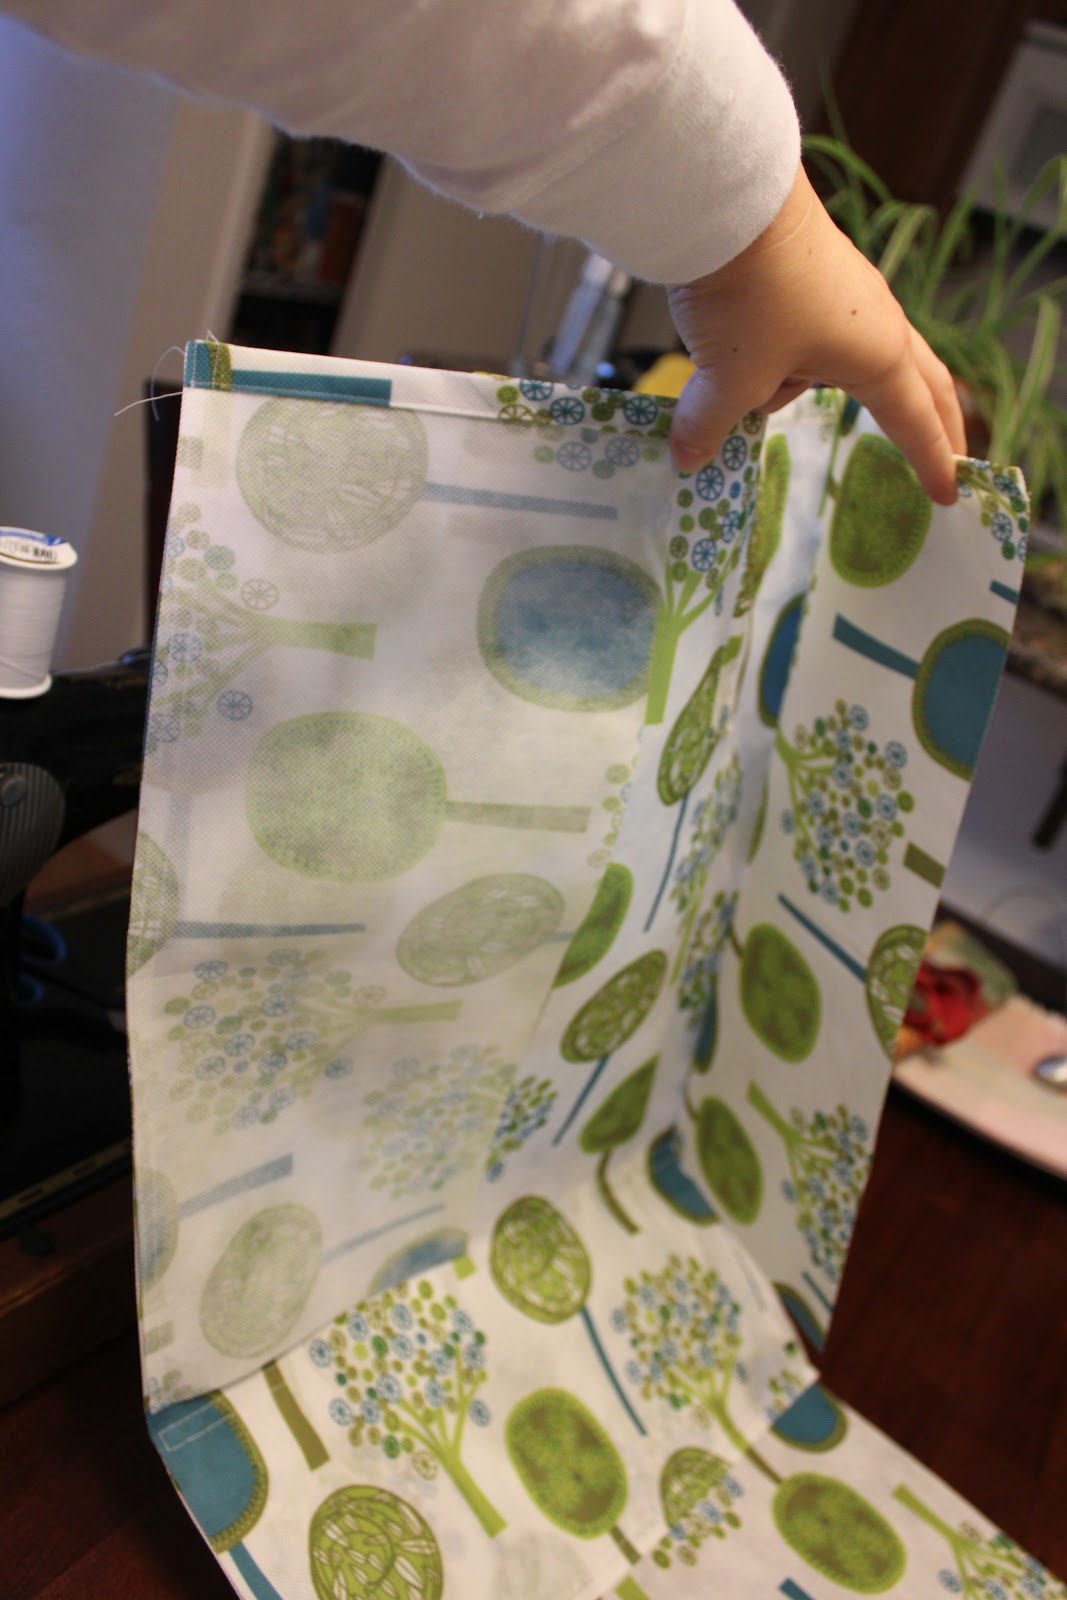
Next came the side panels. I sewed them on face to face with the front of the bag, likeh zo:
Then attached the side panels to the bottom and back panel. This was probably the trickiest part of the project, since, by this point, there is so much material you're dealing with, and it's all attached, and it's everywhere, and it's in the wrong place, and and and. I ended up crumpling a bunch of the fabric up to get it out of the way a time or two. Or three. After all was sewn together, I flipped it right side out.
And this, my friends, is the finished product!
Like I said, I'm pretty astonished with the outcome, and I'm very proud
to say that I created something as quality as this. I kind of feel like
Tom Hanks in Castaway when he makes fire for the first time. I even USED
this bag today, toting my books and candy corn to Bible Study (which
hardly anybody ate - come on, ladies! I'm trying to get RID of it! :D)
Please note, this is not meant to be a tutorial, but if you'd like to try what I did, feel free. You might be more successful than me!
Next, I might try to hem up the crib's bed skirt, as it's too long now that we've lowered the mattress. Or I might make a smaller bag like this one, since this is more grocery sized, and I think I'd like a more tote sized one too. I was also thinking of making some coffee cup cozy thingamabobbers.
Choices, choices!


I! Have made! Fire!!
ReplyDeleteSuper cute bag, dude.
BTW you're still watching Revolution? Yawwwwn. I stopped but maybe I'll watch the episodes that have been backing up in the DVR if I get bored.
Yeah, Revolution. I dunno. I just wanna see what happened to the power and how they get it back on. IF they get it back on. It kinda sucked me in, like Lost. Oo! Maybe they're all dead and don't know it!
DeleteThe bag looks awesome. I think I want some. How much do they cost?
ReplyDeleteSeriously? I haven't even thought about how much I would charge! $8?
DeleteYou need to factor in: The cost of the fabric/supplies and your time. Plus shipping! If you search for "grocery bag" on Etsy, the low is around $10 and the high is around $30.
DeleteI'd definitely buy some from you, if you get into production. I need at least two wide-style ones -- essentially big rectangles that are long horizontally -- for hauling all my kids stuff in/out of day care.
BTW: I found your blog from Erin's site. Love it!
I looked at Etsy too, I shot low due to my inexperience. Plus that material is super cheap.
DeleteI could make some bags to order if you'd like :) I saw some other cute material that's just like this one texture-wise, thinking of getting some tomorrow. Just let me know what dimensions, roughly, you'd like.
Thanks for coming by from Erin's blog!
How about if you made it as wide as 2 of those Trader Joe's bags and kept the height? That would be amazing!
DeleteI can do that! I have this pattern (green trees on white), another that's brown/white/yellow/burnt orange with sailboats/bikes/birds/clouds, and another that's zebra print. Preference?
DeleteAnd Diane, I've made a second one exactly like this one, interested?
I'd love one in this pattern and another with the sailboat print. Thanks!
DeleteYou got it! Email me your address so I'll know where to send them: s.m.glossop@gmail.com
DeleteI started them during nap time today, and hopefully I'll have them done before Thursday.